

Budget (and Renter!) Friendly Kitchen Remodel in NYC
Looking at apartments in NYC is fun and weird and frustrating all at the same time. There are things that have existed in other cities since like 1964 that are still hard and/or impossible to find in apartments here (dishwashers, in-unit washer/dryer, garbage disposals, windows that don’t face a brick wall).
When my husband and I were looking for our first apartment together in Union Square , we kept in mind the three L’s of real estate: location, location, and lotsa room for purses. Things like the kitchen weren’t important to us because, well, we ordered delivery or ate out every night.
Cut to Covid-19 and spending So. Much. Time. At. Home. We’ve transitioned to making 90% of our meals at home, and our cheap-ass rental kitchen was bumming me out. I suppose it was all white once (but not the pretty Mormon mommy-blogger kind of all white), but now it’s varying shades of….vanilla. Creme? Eggshell. I’m trying to be generous here and find a chic word. But the bottom line is the kitchen was WORN OUT.
So my husband I decided to do something about it. And that something was stickers. So many stickers. Since we rent, we didn’t want to do anything to the space that was permanent. After watching a few YouTube videos we went to Home Depot and got our materials.
The entire project took 3 days and about $500, and we’re THRILLED with how it turned out.

Voila!
Looking to make a change in your own space? Keep reading for what we used and our tips and tricks. Shopping list:
Marble Self Adhesive Paper for the Countertops
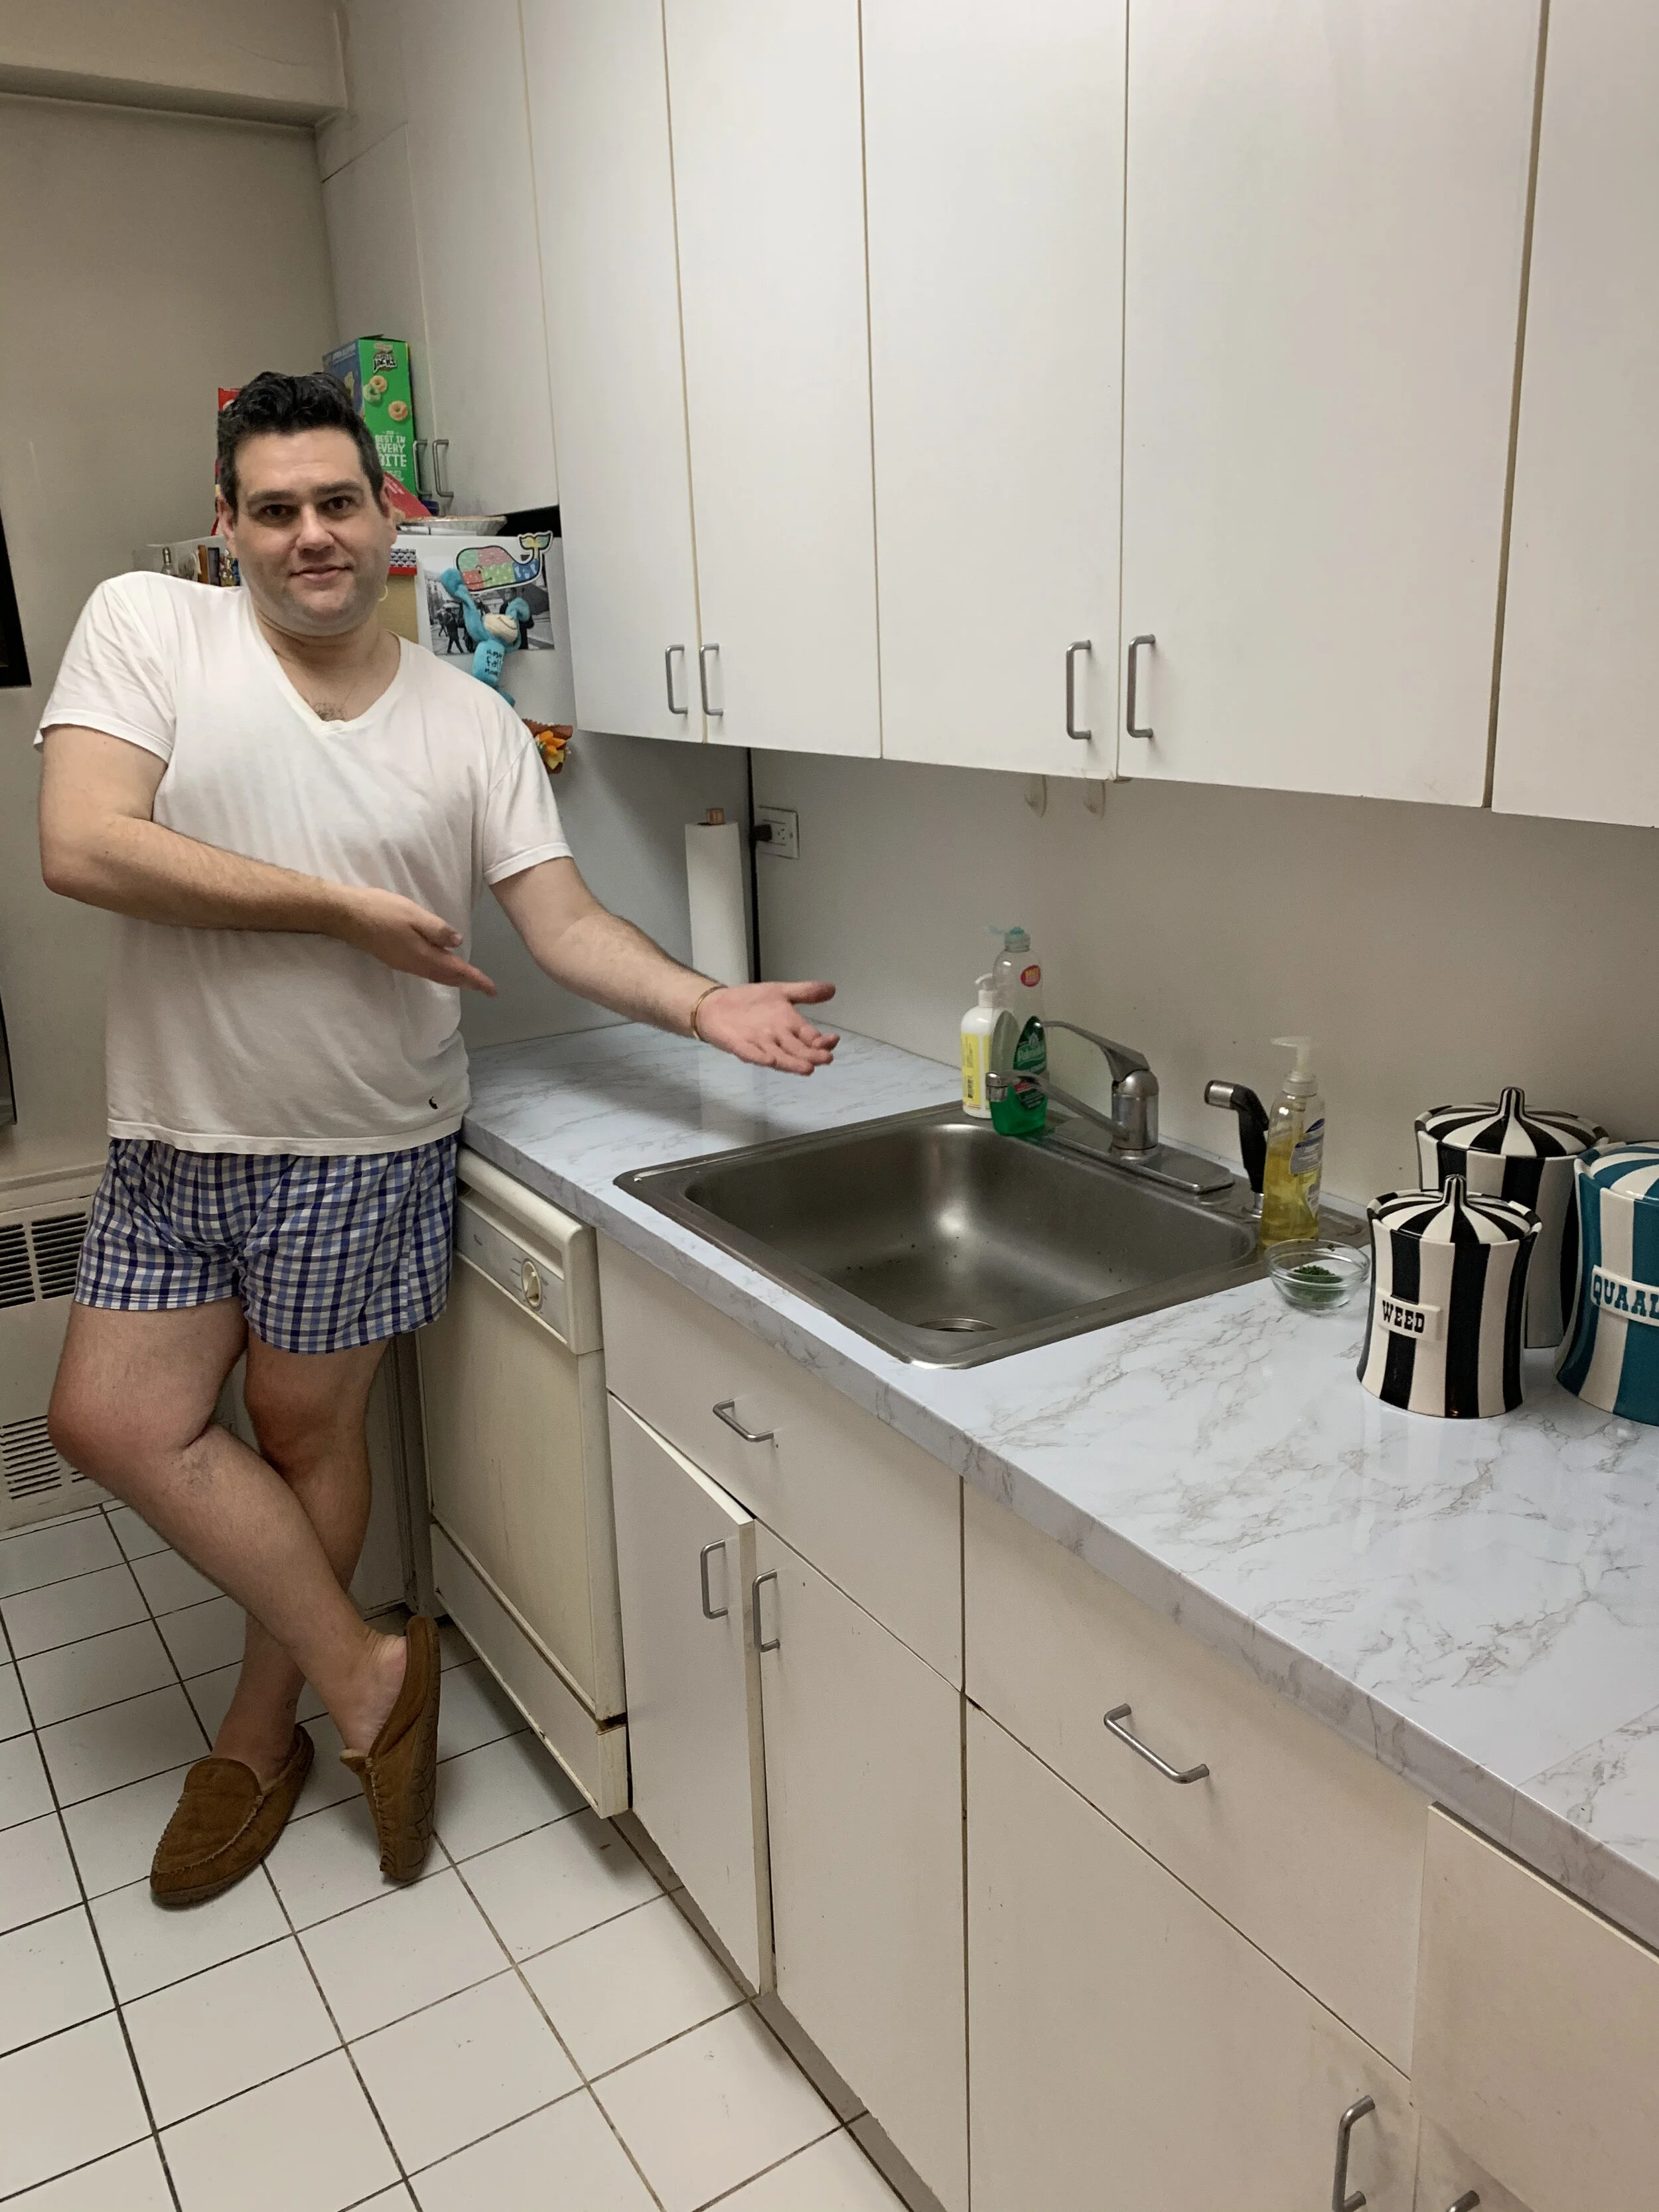
As a reminder, here’s where we started (top) vs. where we ended up (bottom):

Countertops
The countertops are what started this whole thing. They were once white laminate, but now they’re dingy and chipped. No matter how much we clean, there are yellow spots and tea rings. Gross. We started our “remodel” by applying marble contact paper. This is a two person job, no matter what anyone tries to tell you. Make sure your surface is sparkling clean to ensure it sticks. You will get air bubbles. You will fight with your installation buddy. You will be thrilled with how it turns out. We ended up just smoothing the paper with our hands, but this installation kit (sold separately) includes a tool if you’re not a barbarian like we are.
Cost: About $50

Backsplash
Once we saw the difference doing the countertops made, we wanted to sticker everything. So we did. The tiles are SO MUCH EASIER to apply than the paper, and I think they made the biggest difference. There are a bunch of peel-and-stick tile options out there, ranging from cheap to suprisingly kinda expensive. We went with the the “surprisingly kinda expensive” option because, well, I saw someone on YouTube who told me to and she made a very convincing case. I didn’t want the tiles to peel, so I figured a couple of bucks extra in the beginning was better than frustration in the end.
To “tile” around the electrical sockets, first unscrew them and then use the paper backing from the tile to make a template. Cut out the socket hole, apply the tile, and then screw the faceplate back on top. It looks SO REAL.
Cost: About $200


Hardware
I didn’t think changing the hardware would make that big a difference, but I also thought Lady Gaga was never going to amount to anything so what do I know. First shock? We needed 29 handles for our kitchen that is too small for two people to be in at the same time. Second shock? They’re $6 each. I love the subtle champagne gold color, but if I’m being COMPLETELY honest, I think the style we bought is a little bit too big. But that’s probably just me being picky, because honestly, the hardware transformed the space.
Left: new hardware, Right: old hardware
Cost: About $200


Rug
I go back and forth on whether a rug in the kitchen is disgusting or not (I spill a lot, ok?) but in the end my tootsies needed it - (real) tile is COLD. This one is cheap enough that we can wash it and replace it if necessary. I think it also makes a big difference to “finish” off the space!
Cost: $25

When in doubt, rug it out
For a total cost of about $500 we are SO pleased with how it came out. In fact, we liked it so much we did the bathroom with our leftover materials!
Would I do this if I had a new, gorgeous, custom-built home? No, I wouldn’t. But thankfully (?) I don’t have that; what I have is a rental apartment in a nice building in a great location with big closets, plenty of sunlight, and a kitchen covered ceiling-to-floor in stickers, lololololol.


What do you think about the changes? What made the biggest difference? Are you gonna sticker anything in your home any time soon?


